Instagram App Setup (with Instagram Basic Display API)
Overview
This document provides instructions on how to set up Instagram to Wilcity and allow users to show their Instagram photos on their profile page.
Note: Starting October 15, 2019, new client registration and permission review on Instagram API platform are discontinued in favor of the Instagram Basic Display API. If you registered your application before October 15, you should use Instagram API. See instruction Instagram App Setup.
Instagram App creation and setup
Firstly, You have to create a Facebook App developer Application and you
can work in one of these modes:
- Development Mode (only Testers can connect)
- Live Mode (any member can connect)
Facebook App is in the Development Mode by default. You have to request permissions and go through App Review to enable Live Mode.
Step 1: Create a Facebook App
Go to developers.facebook.com, click My Apps, and create a new app. Once you have created the app and are in the App Dashboard, navigate to [Settings > Basic], scroll the bottom of page, and click Add Platform.
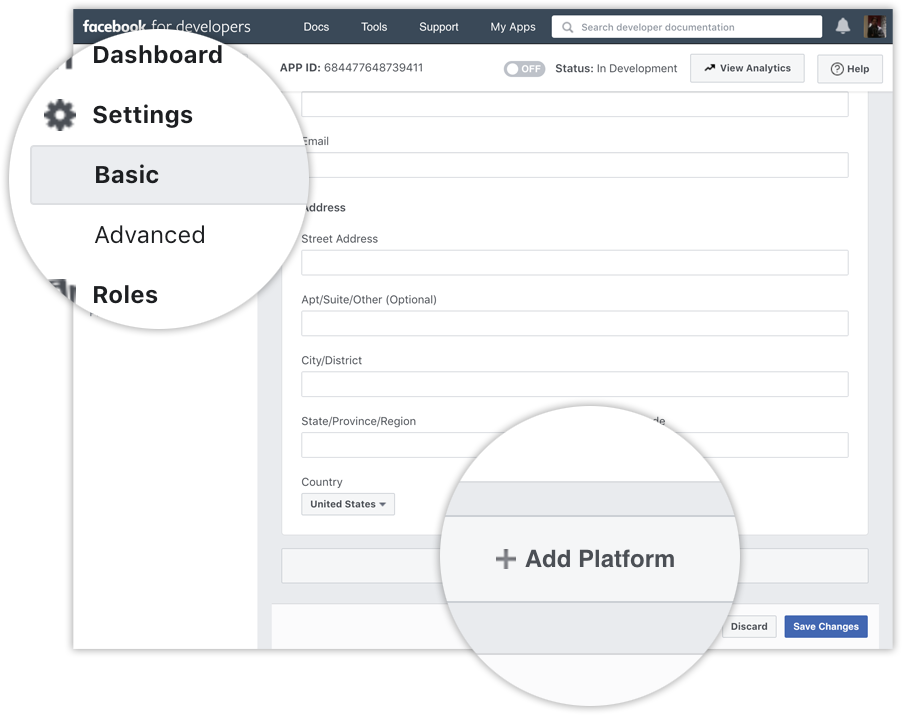
Choose Website, add your website’s URL, and save your changes.
Step 2: Configure Instagram Basic Display
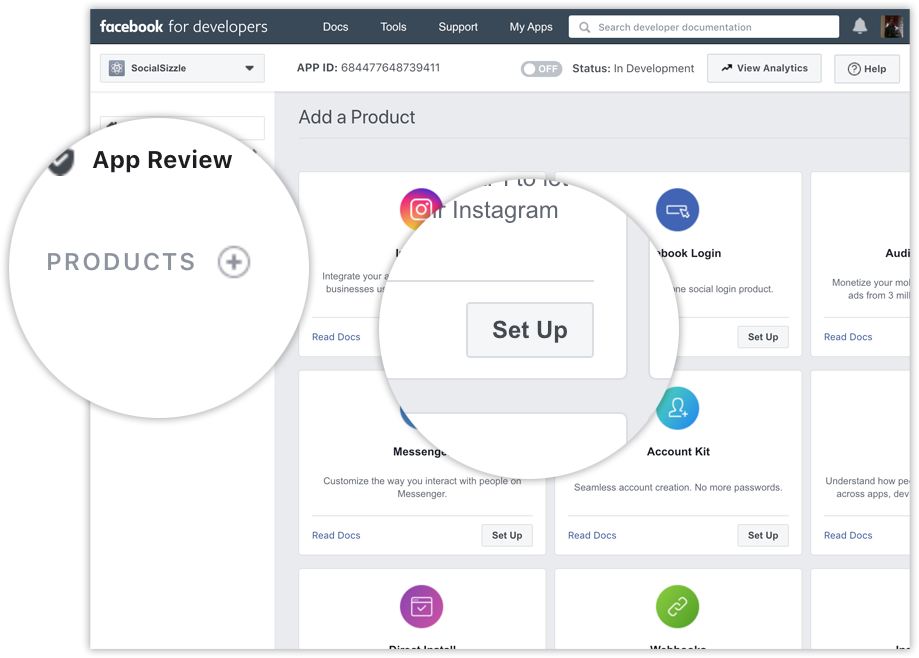
Click Products, locate the Instagram product, and click Set Up to add it to your app.
Click Basic Display, scroll to the bottom of the page, then click Create New App.
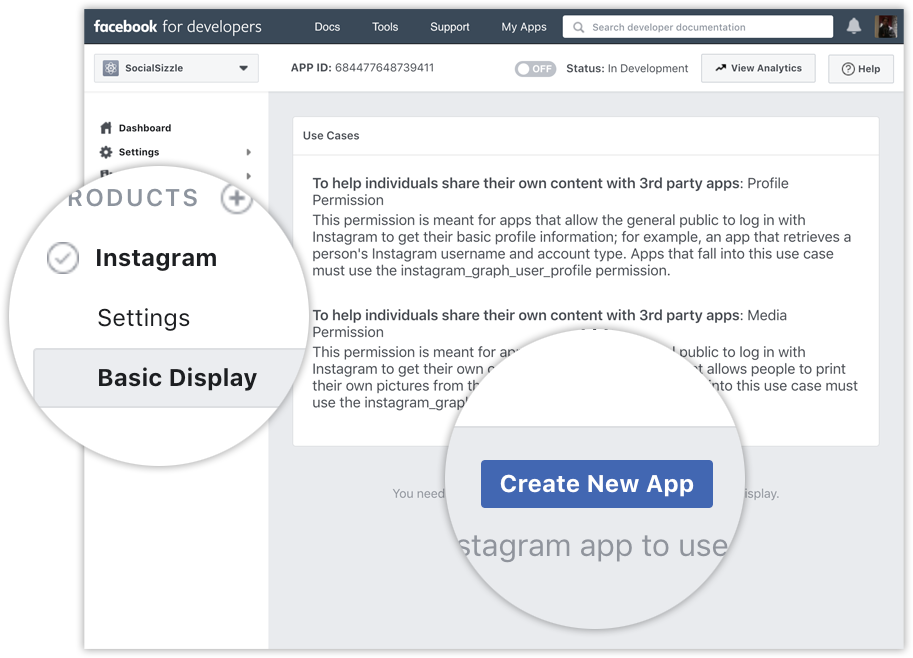
In the form that appears, complete each section using the guidelines below.
- Display Name – Enter the name of the Facebook app you just created.
- Valid OAuth Redirect URIs – Enter your website’s URL:
- Deauthorize Callback URL – Your website’s logout page URL.
- Data Deletion Request Callback URL – Enter your website’s URL once again.

Step 3: Add an Instagram Test User
Navigate to [Roles > Roles] and scroll down to the Instagram Testers section. Click Add Instagram Testers and enter your Instagram account’s username and send the invitation.

Open a new web browser and go to https://www.instagram.com/accounts/manage_access/. Navigate to Tester Invites and accept the invitation.

Your Instagram account is eligible to be accessed by your Facebook app while it is in Development Mode.
Note: All permissions need to be approved for your app through the App Review process before they can be used in Live Mode
Configuring Wilcity Instagram Settings
- Now, log into your site -> Settings -> Wilcity Instagram Settings
- App ID – paste your Instagram App ID displayed in [App Dashboard > Products > Instagram > Basic Display].
- App Secret – paste your Instagram App Secret displayed in [App Dashboard > Products > Instagram > Basic Display].
- Redirect URL -> paste your Valid OAuth Redirect URIs displayed in [App Dashboard > Products > Instagram > Basic Display -> Client OAuth Settings].
- Then click Save Changes
- Finally, click Execute button
Wilcity Instagram Settings


Add Wilcity Instagram Widgets to your site
- Go to Appearance -> Widgets
- Drag Wilcity Instagram Feeds to place you want
- We highly recommend setting up Cache Interval value due to Rate Limit (The unit is miliseconds)
App Review & Live Mode
Before you can switch your app to Live Mode, you may have to go through App Review. The process allows Facebook to verify who you are and how you will be using the data that your app will be accessing.
Permissions
Data access authorization is controlled by your app users through the use of the permissions listed below. Users must grant your app these permissions through the Authorization Window before your app can access their data.
- instagram_graph_user_profile — allows your app to read the User node, which represents the Instagram user, and the node’s edges.
- instagram_graph_user_media — allows your app to read the Media node, which represents an image, video, or album, and the node’s edges.
Note: All permissions need to be approved for your app through the App Review process before they can be used in Live Mode
Individual Verification
You’ll need to provide an email address where you can receive, review, and submit a contract, and upload an image copy of an approved ID or document. By verifying as an individual, certain permissions or Features from your request may not be available or will be limited per each app installer. You’ll also need to sign 1 contract. Learn more
Errors
Error “Insufficient developer role” may appear if Facebook App is in the Development Mode and you are not a Tester. You have to make yourself a Tester or enable Live Mode.
Error “The access_token provided is invalid.” may appear if the access token is older than 60 days. Try to reconnect.